
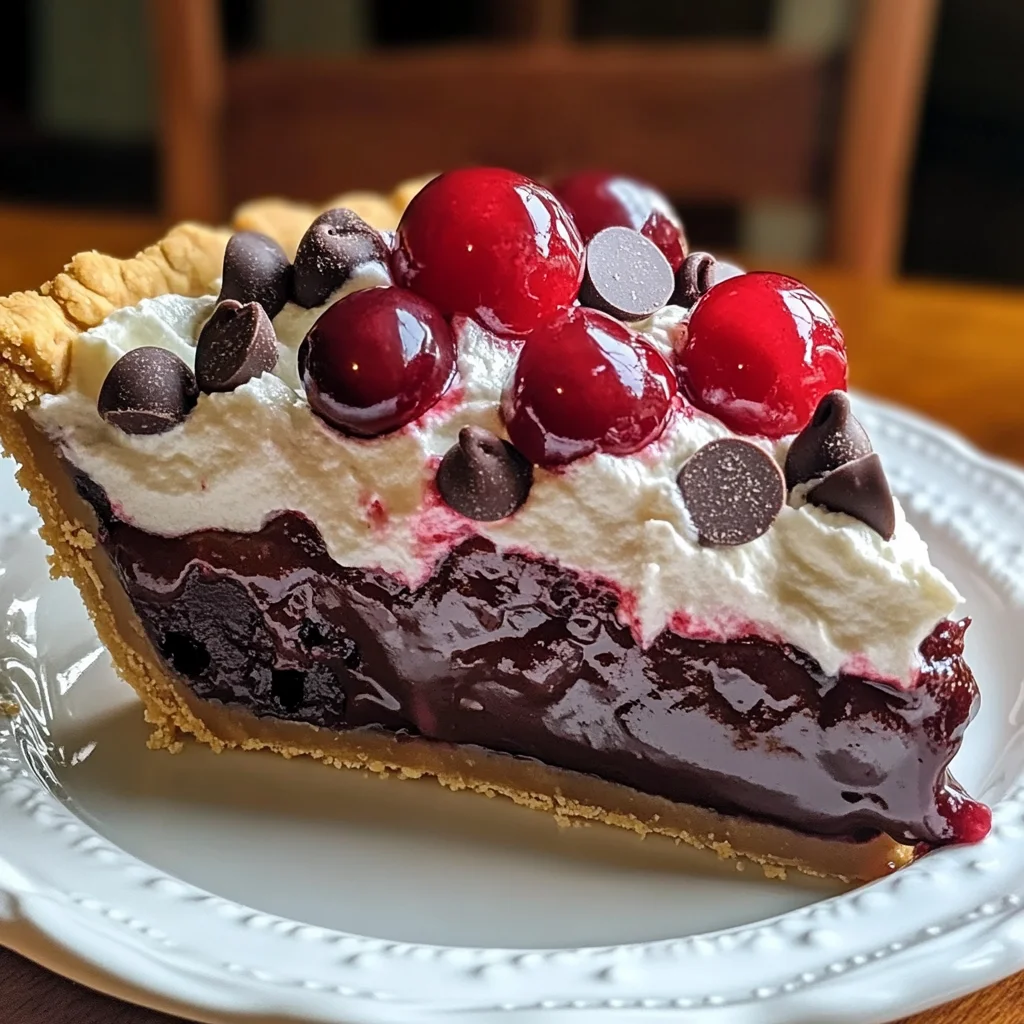
This Chocolate Cherry Cream Pie is a delightful dessert that brings together the rich flavors of chocolate and the sweet-tartness of cherries. Perfect for any occasion, this pie features a luscious cherry filling layered with smooth chocolate pudding and topped with fluffy whipped cream. It’s an eye-catching treat that impresses guests while being simple enough to make at home.
Why You’ll Love This Recipe
- Decadent Flavor: The combination of chocolate and cherry creates a symphony of taste that pleases any palate.
- Easy Preparation: With simple steps and accessible ingredients, you can whip up this stunning dessert without fuss.
- Versatile Serving: Ideal for holidays, birthdays, or casual gatherings, it suits any event perfectly.
- Make-Ahead Option: Prepare it in advance and let it chill, so it’s ready to serve when you are.
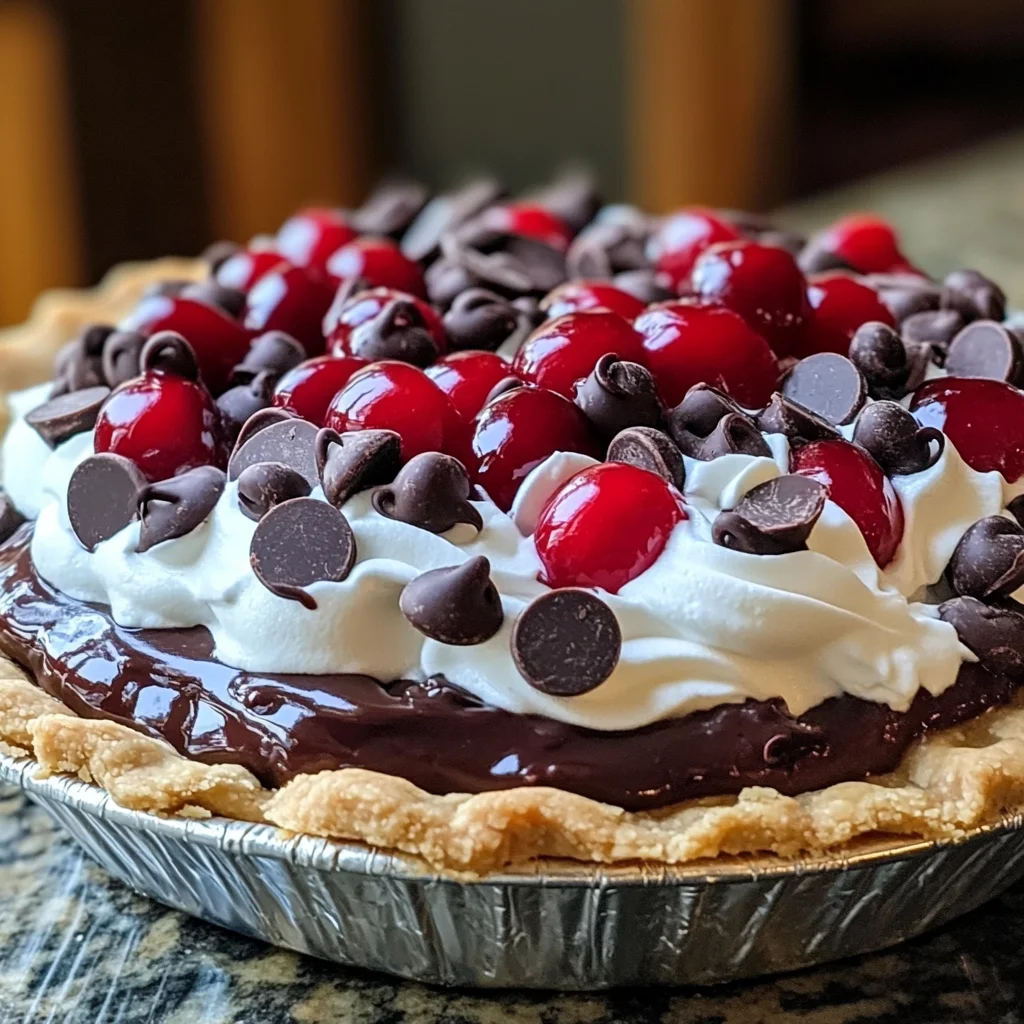
- Visual Appeal: The layers of color and texture make this pie a showstopper on any dessert table.
Tools and Preparation
Gathering the right tools will make your baking experience smoother. Here are some essential tools to have on hand:
Essential Tools and Equipment
- Mixing bowls
- Whisk
- Measuring cups
- Spatula
- Pie dish
Importance of Each Tool
- Mixing bowls: These are essential for combining your ingredients without mess.
- Whisk: A good whisk ensures your pudding mix is smooth and lump-free.
- Measuring cups: Accurate measurements lead to perfect results every time.
- Spatula: A spatula helps in spreading layers evenly for a beautiful presentation.
Ingredients
For the Pie Crust
- 1 pre-baked 9-inch pie crust
For the Cherry Filling
- 1 can (21 oz) cherry pie filling (or homemade)
For the Chocolate Layer
- 1 box (3.9 oz) chocolate pudding mix
- 2 cups cold milk (for pudding mix)
For the Whipped Topping
- 1 ½ cups whipped cream (homemade or store-bought)
- ½ cup chocolate chips (semi-sweet or dark)
- Fresh cherries for garnish (optional)
How to Make Chocolate Cherry Cream Pie
Step 1: Prepare the Pie Crust
Ensure the pie crust is pre-baked and fully cooled before assembling. This will provide a sturdy base for your delicious layers.
Step 2: Add the Cherry Filling
Spread the cherry pie filling evenly across the bottom of the crust. Make sure to cover the entire surface for balanced flavors.
Step 3: Prepare the Chocolate Pudding
Prepare the chocolate pudding according to the package instructions using cold milk. Stir until fully combined, then let it thicken slightly before spreading it over the cherry layer.
Step 4: Top with Whipped Cream
Gently spread whipped cream over the chocolate layer, creating a smooth, even topping that adds lightness to each slice.
Step 5: Add Final Touches
Sprinkle chocolate chips over the whipped cream. If desired, add fresh cherries on top for extra flavor and a pop of color.
Step 6: Chill
Chill the pie in the refrigerator for at least 2 hours to allow the layers to set properly and enhance flavor melds.
Step 7: Serve
Slice and serve chilled for a rich and creamy chocolate-cherry treat that everyone will love!
How to Serve Chocolate Cherry Cream Pie
Serving your Chocolate Cherry Cream Pie can elevate its appeal and enhance the overall dessert experience. Whether it’s a holiday gathering or a simple family dinner, these serving suggestions will impress your guests.
Individual Slices
- Serve each slice on a decorative plate for an elegant presentation.
- Add a dollop of extra whipped cream on top for added creaminess.
With Fresh Berries
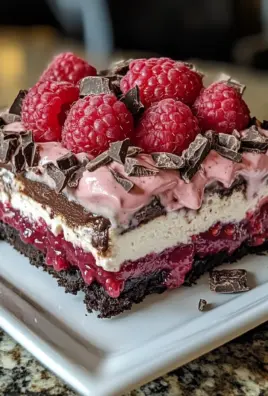
- Pair the pie with fresh strawberries, raspberries, or blueberries for a burst of flavor.
- The tartness of the berries complements the sweetness of the pie beautifully.
Drizzled with Chocolate Sauce
- A drizzle of chocolate sauce adds an extra layer of richness.
- Use store-bought or homemade sauce for a gourmet touch.
Accompanied by Coffee or Tea
- Offer coffee or tea alongside the dessert to balance the sweetness.
- This pairing creates a comforting and satisfying end to any meal.
Chilled with Ice Cream
- Serve slices with a scoop of vanilla or cherry ice cream for a delightful contrast in temperature and texture.
- The creaminess of the ice cream pairs perfectly with the rich pie.
How to Perfect Chocolate Cherry Cream Pie
Creating the perfect Chocolate Cherry Cream Pie requires attention to detail. Here are some tips to help you achieve dessert perfection.
- Use Quality Ingredients: Opt for high-quality chocolate pudding mix and fresh cherries for the best flavor.
- Chill Thoroughly: Allow the pie to chill in the refrigerator long enough to set properly; this enhances texture and flavor.
- Pre-bake the Crust: Ensure your pie crust is fully baked before adding fillings to prevent sogginess.
- Layer Carefully: Spread each layer evenly to maintain distinct flavors and textures throughout each slice.
- Garnish Generously: Don’t skimp on garnishes like chocolate chips and fresh cherries; they add visual appeal and extra flavor.
Best Side Dishes for Chocolate Cherry Cream Pie
Pairing side dishes with your Chocolate Cherry Cream Pie can create a well-rounded dessert experience. Here are some delightful options:
- Whipped Cream: A classic companion that adds lightness and enhances sweetness.
- Fresh Fruit Salad: A mix of seasonal fruits provides freshness and balances flavors nicely.
- Vanilla Ice Cream: A scoop adds creaminess that complements the rich pie perfectly.
- Chocolate Mousse: For chocolate lovers, this decadent treat can create a rich dessert experience.
- Almond Biscotti: Crunchy biscotti offers a nice textural contrast when dipped into coffee or tea.
- Custard Sauce: A smooth custard drizzled over slices adds richness without overwhelming flavors.
- Coconut Whipped Topping: For those wanting a dairy-free option, this adds tropical flair while enhancing sweetness.
- Mint Leaves: Fresh mint as a garnish brightens the dish visually and adds refreshing flavor notes.
Common Mistakes to Avoid
Many home bakers encounter pitfalls while making desserts. Here are some common mistakes to watch for when preparing your Chocolate Cherry Cream Pie.
- Boldly skipping the chilling time: Always chill the pie for at least 2 hours. This helps the layers set properly, ensuring a more enjoyable texture.
- Boldly using warm ingredients: When making the pudding, ensure the milk is cold. Warm milk can prevent the pudding from thickening correctly.
- Boldly rushing the assembly: Take your time layering each component. Proper layering is key for flavor distribution and a beautiful presentation.
- Boldly neglecting the crust: Ensure your pie crust is fully cooled before adding fillings. A warm crust can cause the fillings to melt or become soggy.
- Boldly overlooking garnishes: Fresh cherries and chocolate chips enhance both flavor and visual appeal. Don’t skip this step; it makes a big difference!
Storage & Reheating Instructions
Refrigerator Storage
- item Store leftovers in an airtight container.
- item It can last in the fridge for up to 3 days.
Freezing Chocolate Cherry Cream Pie
- item If you want to freeze it, wrap it tightly in plastic wrap and then in aluminum foil.
- item The pie can be frozen for up to 2 months. Thaw it in the refrigerator overnight before serving.
Reheating Chocolate Cherry Cream Pie
- Boldly avoid reheating: This dessert is best served chilled and doesn’t require reheating. However, if you need to serve it warm:
- Boldly use an oven: Preheat your oven to 350°F (175°C) and warm for about 10 minutes.
- Boldly use a microwave: Heat a slice on medium power for about 15-20 seconds until just warmed.
- Boldly avoid stovetop methods: This pie does not reheat well on the stovetop as it may affect texture.
Frequently Asked Questions
Here are some common questions about making Chocolate Cherry Cream Pie.
Can I use homemade cherry filling?
Yes, you can use homemade cherry filling instead of canned. Just ensure it’s thick enough to hold its shape.
What can I substitute for whipped cream?
You can use whipped coconut cream or store-bought non-dairy whipped topping as a substitute for traditional whipped cream.
How do I make this Chocolate Cherry Cream Pie gluten-free?
Simply use a gluten-free pie crust instead of regular pie crust. You can find many great options available in stores or online.
Can I make this Chocolate Cherry Cream Pie ahead of time?
Absolutely! You can assemble it one day in advance and keep it refrigerated until you’re ready to serve.
What should I do if my pudding isn’t thickening?
Ensure you’re using cold milk as instructed on the package. If it’s still not thickening, let it sit for a few minutes longer before adding it to the pie.
Final Thoughts
This Chocolate Cherry Cream Pie is not only delicious but also versatile. You can customize it with different toppings or fillings based on your preferences. Whether it’s for a holiday gathering or an everyday treat, this pie will surely impress! Don’t hesitate to try this recipe and add your unique twist!

Chocolate Cherry Cream Pie
Indulge in the rich flavors of our Chocolate Cherry Cream Pie, a delightful dessert that combines smooth chocolate pudding with sweet-tart cherry filling, all topped with fluffy whipped cream. This no-bake treat is perfect for any occasion, from casual family dinners to festive celebrations. The beautiful layers not only create an eye-catching centerpiece but also offer a symphony of flavors that will impress your guests and satisfy your sweet tooth. Easy to prepare and make ahead, this pie will quickly become a cherished favorite in your dessert repertoire.
- Total Time: 0 hours
- Yield: Serves 8
Ingredients
- 1 pre-baked 9-inch pie crust
- 1 can (21 oz) cherry pie filling
- 1 box (3.9 oz) chocolate pudding mix
- 2 cups cold milk
- 1 ½ cups whipped cream (homemade or store-bought)
- ½ cup semi-sweet or dark chocolate chips
- Fresh cherries for garnish (optional)
Instructions
- Ensure the pre-baked pie crust is fully cooled.
- Evenly spread cherry pie filling across the bottom of the crust.
- Prepare chocolate pudding according to package instructions using cold milk; let it thicken slightly before adding it on top of cherries.
- Gently spread whipped cream over the chocolate layer.
- Sprinkle chocolate chips on top and add fresh cherries if desired.
- Chill the pie in the refrigerator for at least 2 hours to set.
- Slice and serve chilled.
- Prep Time: 30 minutes
- Cook Time: None
- Category: Dessert
- Method: No-Bake
- Cuisine: American
Nutrition
- Serving Size: 1 slice (approximately 140g)
- Calories: 320
- Sugar: 22g
- Sodium: 150mg
- Fat: 15g
- Saturated Fat: 9g
- Unsaturated Fat: 5g
- Trans Fat: 0g
- Carbohydrates: 44g
- Fiber: 2g
- Protein: 4g
- Cholesterol: 30mg


Leave a Comment